Property Setup·3 min read·Updated March 2026
How to Upload and Manage Photos of Your Shared Vacation Home
A good photo gallery does double duty for a shared vacation home — it sets the mood for everyone in the group and forms the visual backbone of your public booking page and guest portal.
Step-by-step
- 1
Open the Gallery tab
From your property dashboard, open the Gallery tab. Click 'Upload Photos'.
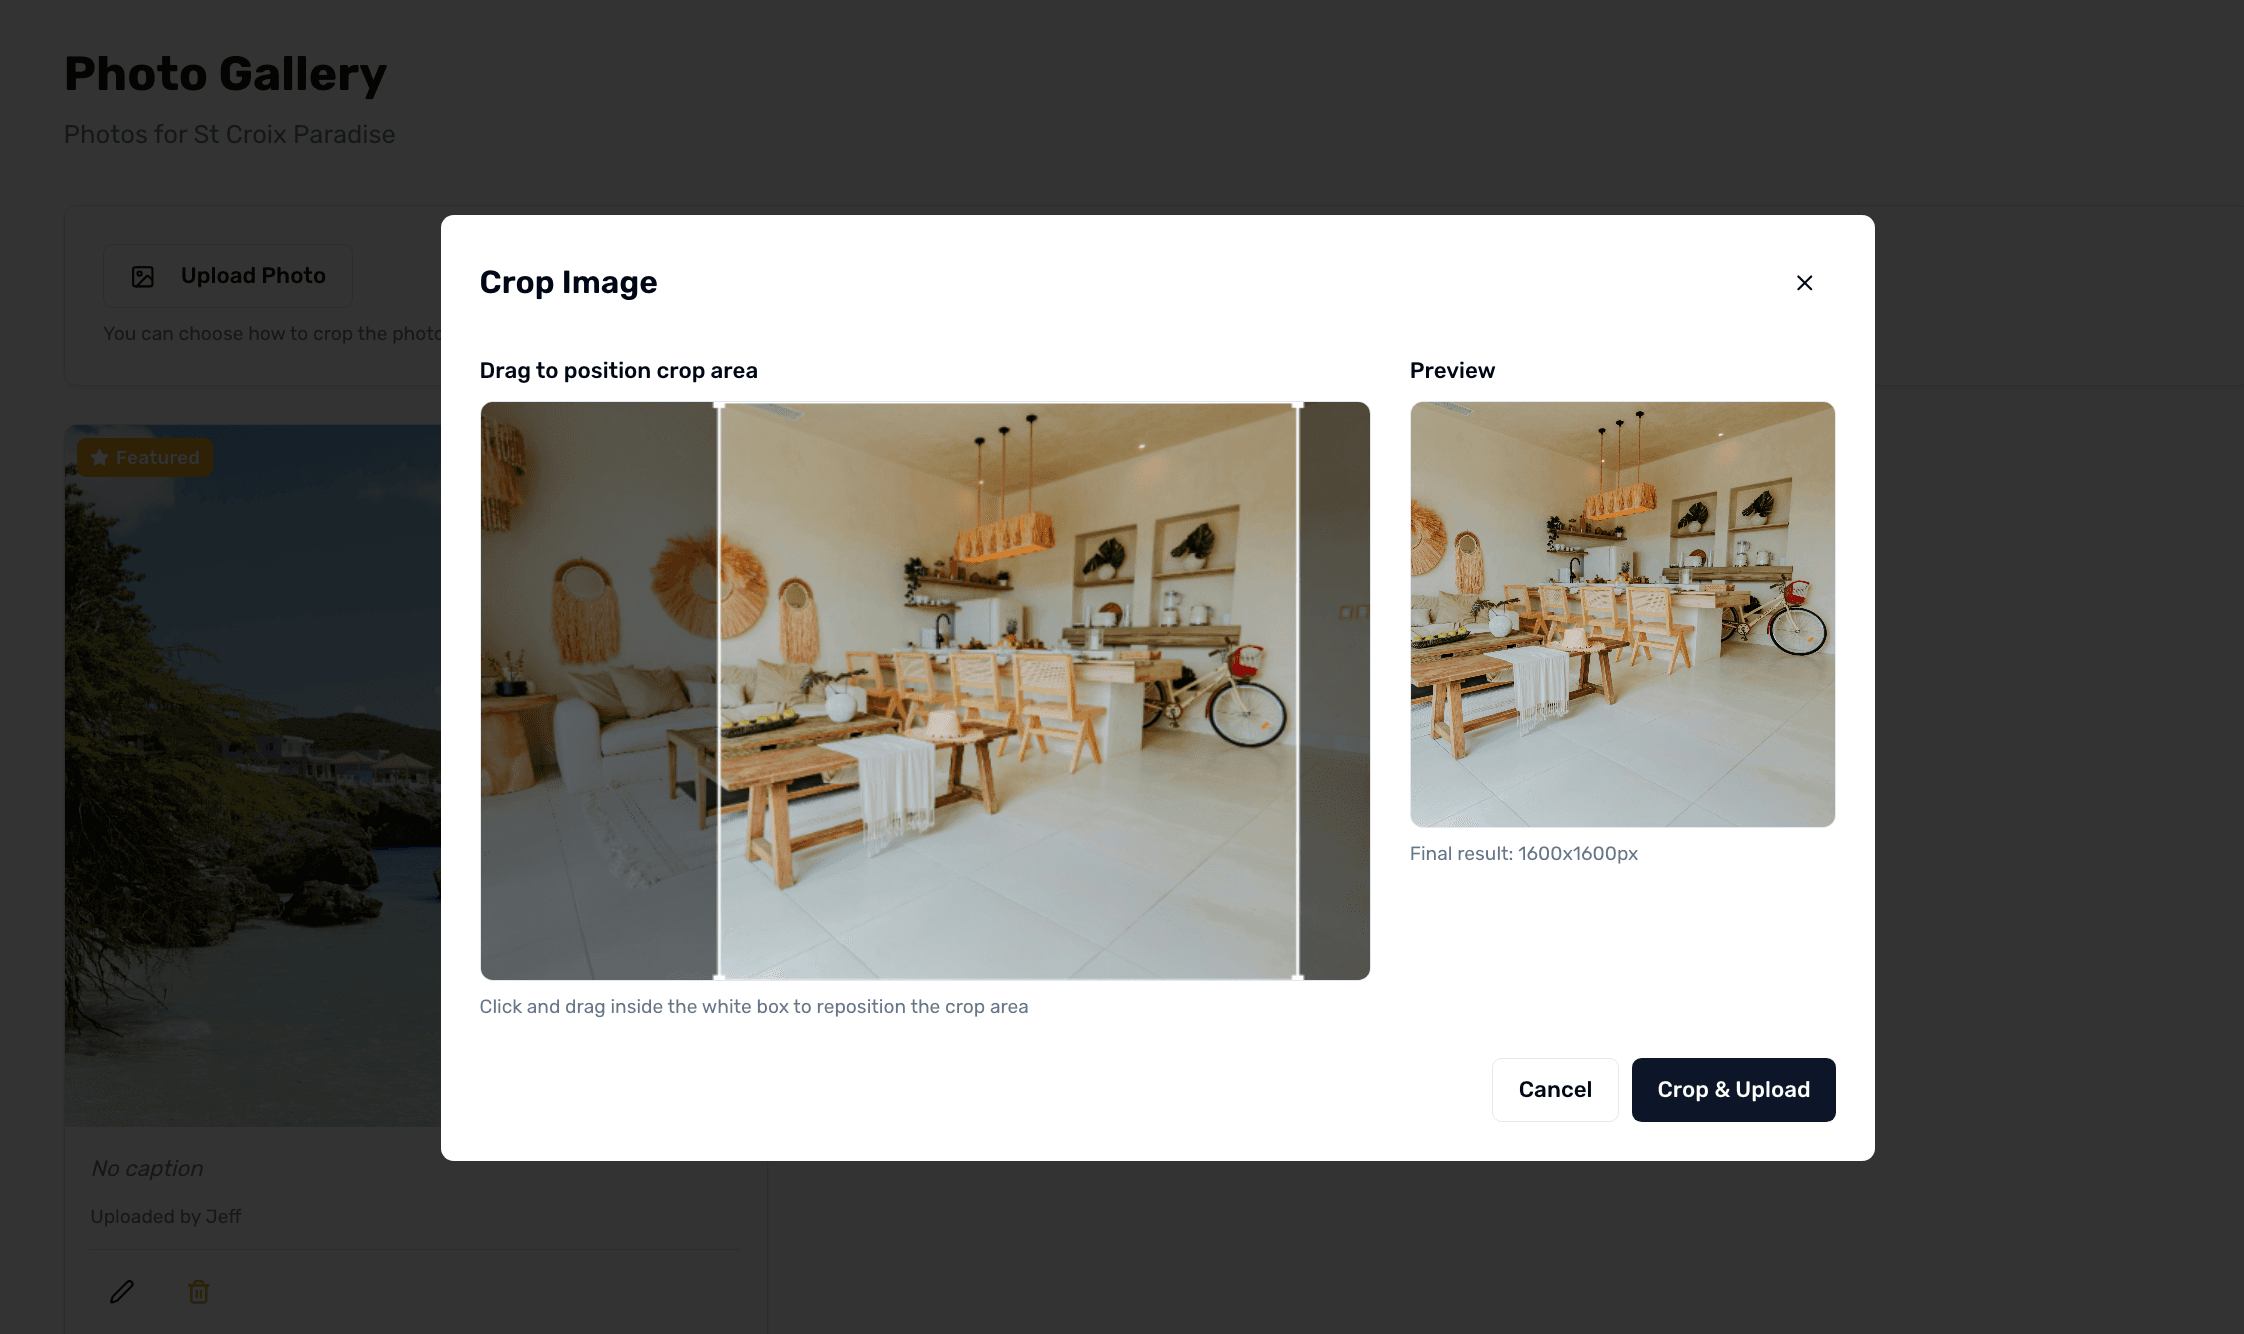
Photo gallery for a shared vacation home
- 2
Select photos
Pick one or many photos at once. JPG, PNG, and WebP up to 10MB each. If you have a lot, upload in batches.
- 3
Set the featured image
Find the photo that best represents your property and click 'Set as Featured'. This becomes the cover image on the dashboard, the public booking page, and the guest portal.
- 4
Reorder or delete
Drag photos into the order you want. Click delete on any photo to remove it. Deletes are permanent.
Tips
- Wide landscape photos work better than tall portraits for the featured image slot.
- Add captions to photos that show specific features (the grill, the trail map by the front door) — they help guests orient quickly.